

Why Most Gazebo Heaters Die (And How We Fixed Ours)
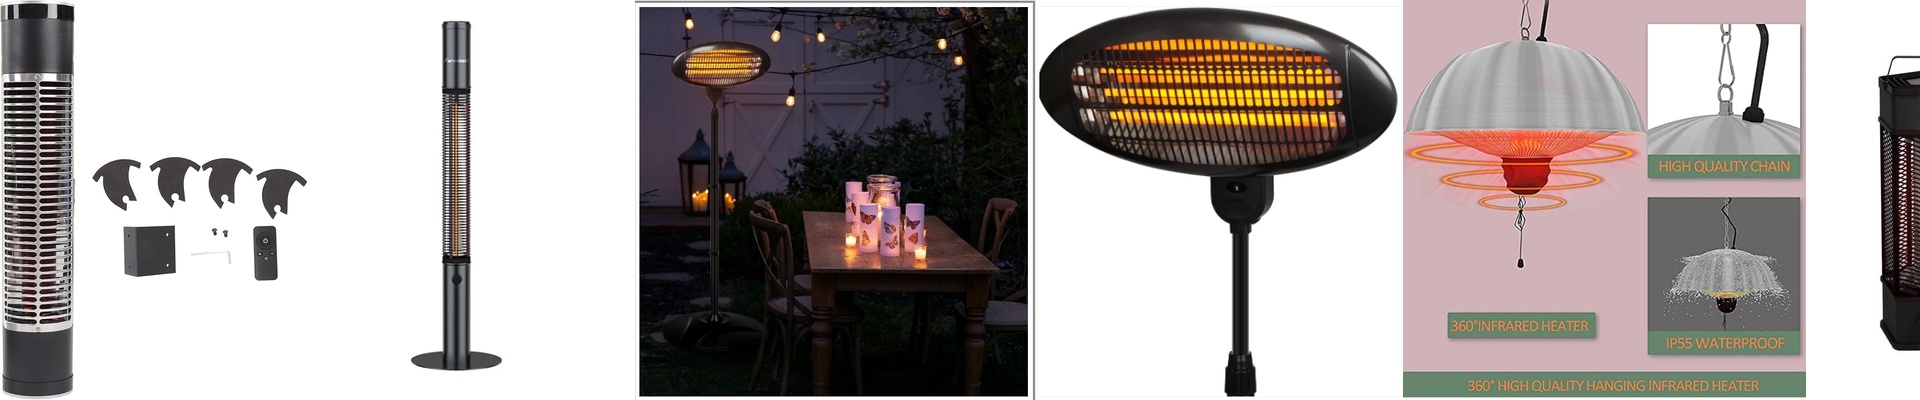
Let’s be honest: putting a standard indoor heater in a gazebo is a recipe for disaster. You might get a few cozy nights, but eventually, the humidity wins. Moisture sneaks into the housing, things start to rust, and then—pop—you’ve got a short circuit. We wanted to build something that actually lasts outdoors.
Beating the Damp
The biggest enemy here is moisture. To stop your heater from giving up the ghost, we used a dual-layer defense. We’re talking heavy-duty gaskets and sealed cable entries that keep water out of the electrical guts. It means when a light drizzle hits or the evening air gets thick and humid, you don’t have to worry about “arcing” or electrical sparks killing your unit. Then there’s the fogging. If water beads up on a red-hot heating element, it creates these tiny, intense hot and cold spots. Do that enough times and the quartz tube just cracks. We fixed this by tweaking the airflow and sealing the internal optics. It keeps the element dry, which keeps the heater alive.
Real Heat, Right Where You Need It
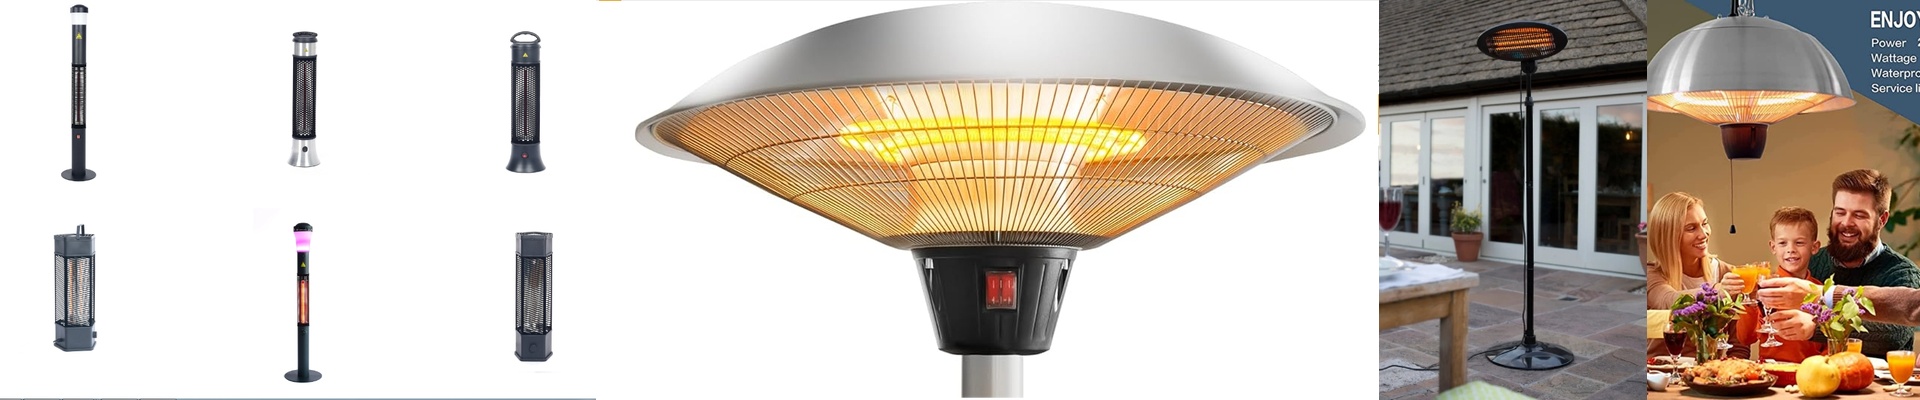
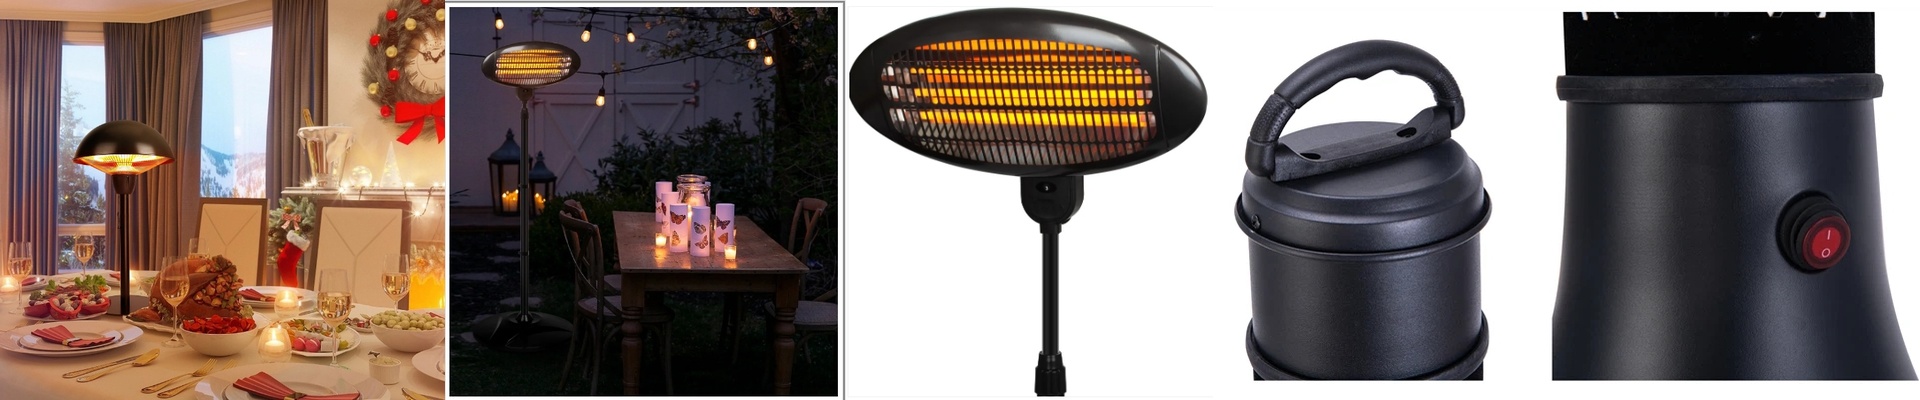
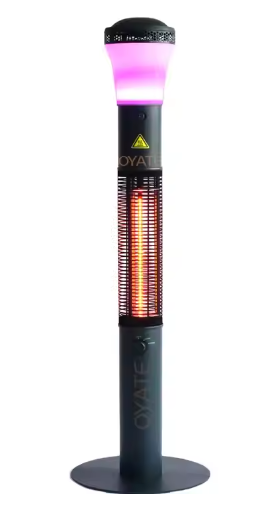
A gazebo is basically a tent with walls that don’t exist. The heat just floats away. That’s why we went with 1500W. It’s enough power to push through the chill. But instead of trying to heat the entire yard, we focus the infrared rays downward in a tight cone. You feel the warmth on your skin the second you flip the switch. It’s immediate.
A Quick Heads-Up on Setup
Before you go all-in, just double-check two things. First, make sure your ceiling can actually hold the weight. Second, look at your wiring. 1500W is a decent pull. If you plug three or four of these into one circuit, you’re going to trip your breaker and end up sitting in the dark and the cold. If you’re doing a big setup, just run dedicated lines. It keeps the power steady and ensures the heat stays hot.