
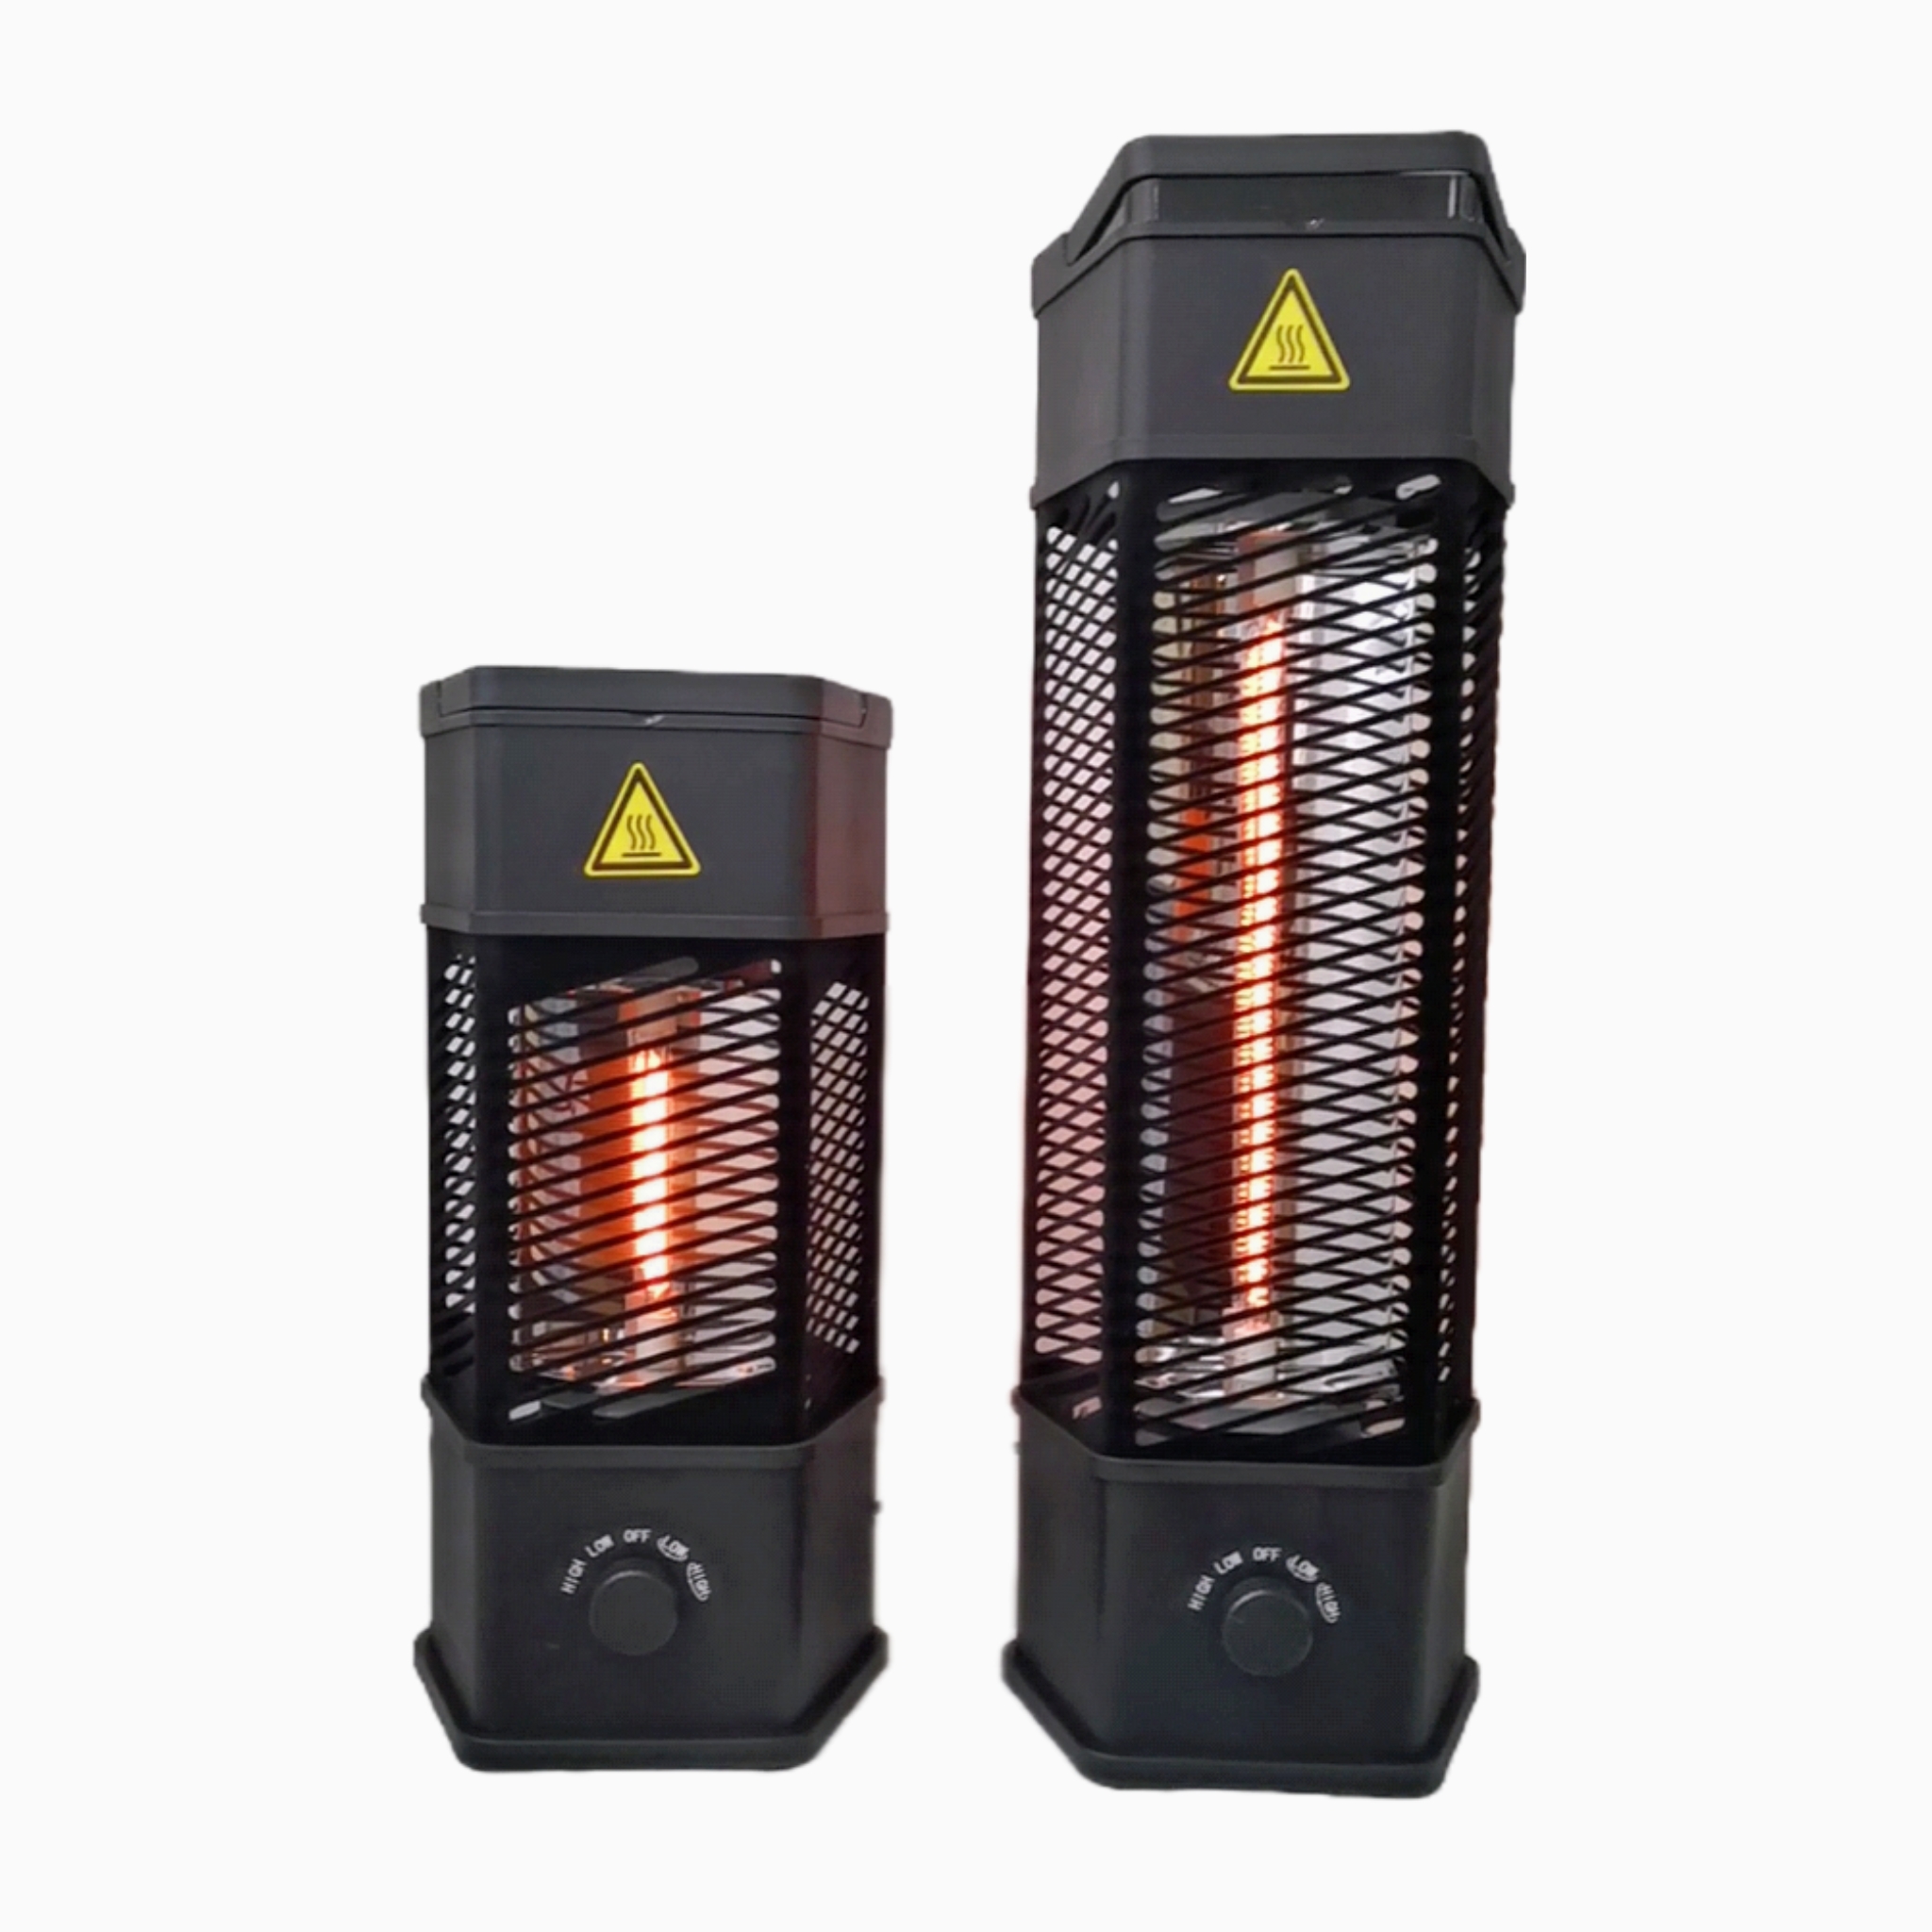
The Secret to Keeping Outdoor Heaters from Dying in the Rain
When you’re waterproofing an outdoor infrared heater, most people just look at the outer shell. But that’s not where the trouble starts. The real nightmare is the lead-wire entry. Think about it: that spot where the power cable hits the heating element is getting hammered. It goes from freezing cold to blistering hot, over and over again. That’s a brutal cycle for any material to survive.
Why most seals just give up
A lot of setups rely on basic rubber grommets or some cheap silicone. It sounds fine on paper, but those materials can’t handle the “heat soak” coming off an infrared element. Eventually, the insulation gets brittle. It cracks. And once that seal is gone, moisture doesn’t just leak in—it crawls in. In the real world, that means oxidation, a nasty short circuit, and a heater that’s now just a very expensive piece of patio decor. We do things differently. We use high-temp potting compounds and specialized heat-shrink sleeves that actually bond to the wire jacket. No gaps. No shrinking. It creates a tight seal that stays put even when the heater is running at full blast.
The problem with “budget” builds
You’ll see plenty of “contract-grade” heaters that use generic, off-the-shelf seals. They work great in a climate-controlled warehouse, but they fall apart under actual thermal stress. Here’s the thing: copper wire and cheap sealant expand at different rates. When the wire heats up and grows, it literally pushes the sealant away. It leaves a tiny gap—just enough for rain or dew to find its way inside. That’s why so many budget units burn out right at the leads.
One thing to keep in mind
There is a trade-off. Because we make the cable entry so airtight, it’s a bit more rigid. You can’t just yank these wires or bend them into a sharp angle near the junction. If you force a tight bend, you risk cracking the potting. Just make sure your cable routing has a bit of breathing room. Give it a natural curve, and the seal will last for years.